September 23, 2024
Everything You Need to Know About Changing the Oil in Your Car
Regularly changing the oil in your car is one of the most important things you can do to keep your vehicle running smoothly. The process is relatively simple and can be done by most car owners with a little bit of knowledge and the right tools. Here’s everything you need to know about changing the oil in your car.
Why Change Your Oil?
Oil is the lifeblood of your engine, and over time it breaks down and becomes contaminated with dirt, debris, and other impurities. When this happens, the oil can no longer do its job effectively, and your engine can suffer. Regular oil changes ensure that your engine is always running with clean, fresh oil, which helps to extend its lifespan and prevent costly repairs.

How Often Should You Change Your Oil?
The frequency of oil changes depends on a number of factors, including the make and model of your car, the age of the engine, and your driving habits. In general, most experts recommend changing the oil every 3,000 to 5,000 miles or every three to six months. However, it’s always best to consult your owner’s manual or a trusted mechanic for specific recommendations for your car.
Steps to Changing Your Oil:
-
Gather Materials:
You’ll need new oil, an oil filter, an oil filter wrench, a funnel, a drain pan, a socket set, and a jack and jack stands.
-
Warm Up Your Engine:
Run your engine for a few minutes to warm up the oil. Warm oil flows more easily and will drain more completely.
-
Jack Up the Car:
Use a jack and jack stands to lift the car off the ground. Make sure to follow the instructions in your owner’s manual for the proper jacking points.
-
Drain the Oil:
Place the drain pan beneath the oil pan and remove the drain plug with a socket wrench. Allow the oil to drain completely.
-
Remove the Old Filter:

Use the oil filter wrench to remove the old oil filter. Wipe away any excess oil from the filter housing.
-
Install the New Filter:
Rub a small amount of new oil around the gasket on the new filter, then screw it into place by hand.
-
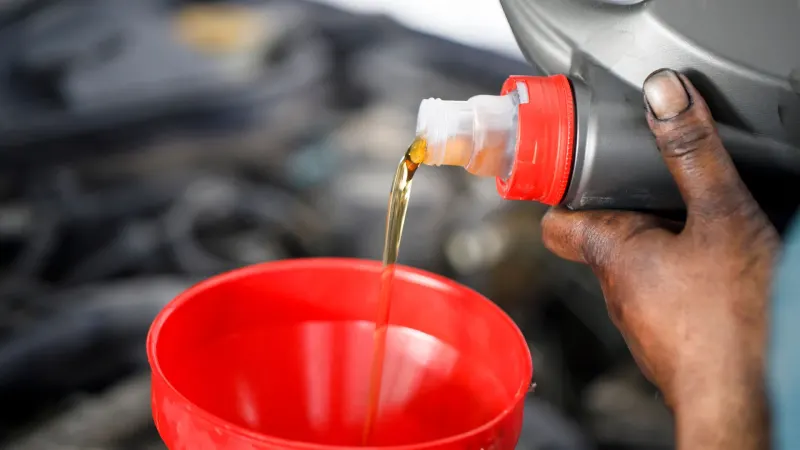
Refill with Oil:
Use the funnel to add the correct amount of new oil to your engine. Check the level with the dipstick to ensure that you have added the correct amount.
-
Start the Engine:
Start the engine and let it run for a few minutes. Check for leaks and ensure that the oil pressure light turns off.
-
Check the Oil Level:
After the engine has cooled down, use the dipstick to check the oil level. Add more oil as needed.
In Conclusion:
Changing the oil in your car is an important part of routine maintenance. It’s a relatively simple process that can be done by most car owners with the right tools and a little bit of knowledge. By keeping your engine running with clean, fresh oil, you’ll be able to extend its lifespan and prevent costly repairs in the future. If you’re not comfortable performing an oil change yourself, consult a trusted mechanic to ensure that your vehicle is properly maintained.
What does your car start doing when you need an oil change?
When your car needs an oil change, it may start exhibiting several signs, including:
- Warning Lights: The oil change or check engine light may illuminate on the dashboard.
- Engine Noise: The engine might sound louder than usual, as old oil becomes less effective at lubricating the engine.
- Oil Smell: You may notice a burning oil smell inside the car, which could indicate the oil is breaking down or leaking.
- Poor Performance: The car might feel sluggish or not accelerate as smoothly due to reduced engine lubrication.
- Excessive Exhaust: Dark exhaust smoke may appear if the oil is dirty or too low.
- Engine Overheating: Without proper lubrication, the engine can overheat, causing the temperature gauge to rise.
If you notice any of these symptoms, it’s a good idea to check your oil levels and schedule a change to prevent engine damage.
